To crimp Deutsch connectors, strip wire ends and insert into the connector before using a crimping tool to secure them. Select the correct die and crimper for the specific Deutsch connector series.
Crimping Deutsch connectors requires precision and attention to detail to ensure a strong, reliable connection. These connectors, popular in automotive and industrial applications for their durability and weather resistance, must be assembled correctly to maintain functionality. The process involves preparing the wire, properly positioning it within the connector’s contact, and applying the right amount of pressure with a specialized crimping tool.
This connection method is favored for its resistance to vibration and environmental factors, making it a staple in harsh-environment applications. Achieving the perfect crimp is crucial, as it ensures a solid electrical connection and prevents future connectivity issues. By following a detailed crimping procedure, users can guarantee the longevity and reliability of their electrical connections.
Introduction To Deutsch Connectors
Deutsch connectors are essential for reliable electrical connections. They suit tough environments. Their design ensures a secure and waterproof fit. Proper crimping is crucial. It prevents issues like loose connections and corrosion.
Efficient crimping forms a solid bond between wire and connector. This bond is vital for signal integrity. Many sectors utilize Deutsch connectors. Examples include automotive, marine, and aerospace industries. Each industry values durability and performance.

Credit: www.youtube.com
Required Tools And Materials
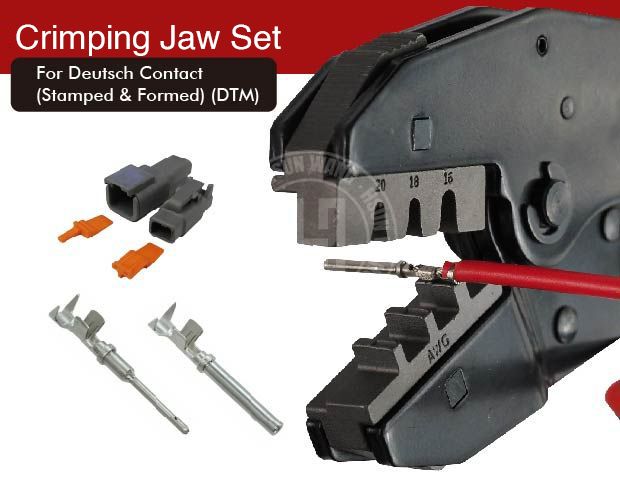
Finding the correct crimping tool is vital for a secure connection. Use Deutsch crimp tools for the best fit. These tools crimp the pins and sockets efficiently. Ensure the tool matches the connector series. DT, DTM, and DTP series connectors require specific tools.
Component quality impacts the overall integrity. Choose authentic Deutsch connectors for their reliability. These components are designed for tough environments. Using high-quality materials ensures a lasting connection.
Additional equipment may include wire strippers, cutters, and heat shrink tubing. Together, these tools prepare and protect the wiring. Wire strippers remove insulation without damaging wires. Cutters trim wires to length precisely. Heat shrink tubing provides environmental protection.
Step-by-step Guide To Crimping Deutsch Connectors
Before crimping Deutsch connectors, the cable requires proper preparation. Strip the insulation off the wire carefully to avoid damaging the conductors. Ensure you have exposed enough wire to fit snugly into the connector. Use a wire stripper for best results, selecting the right gauge size.
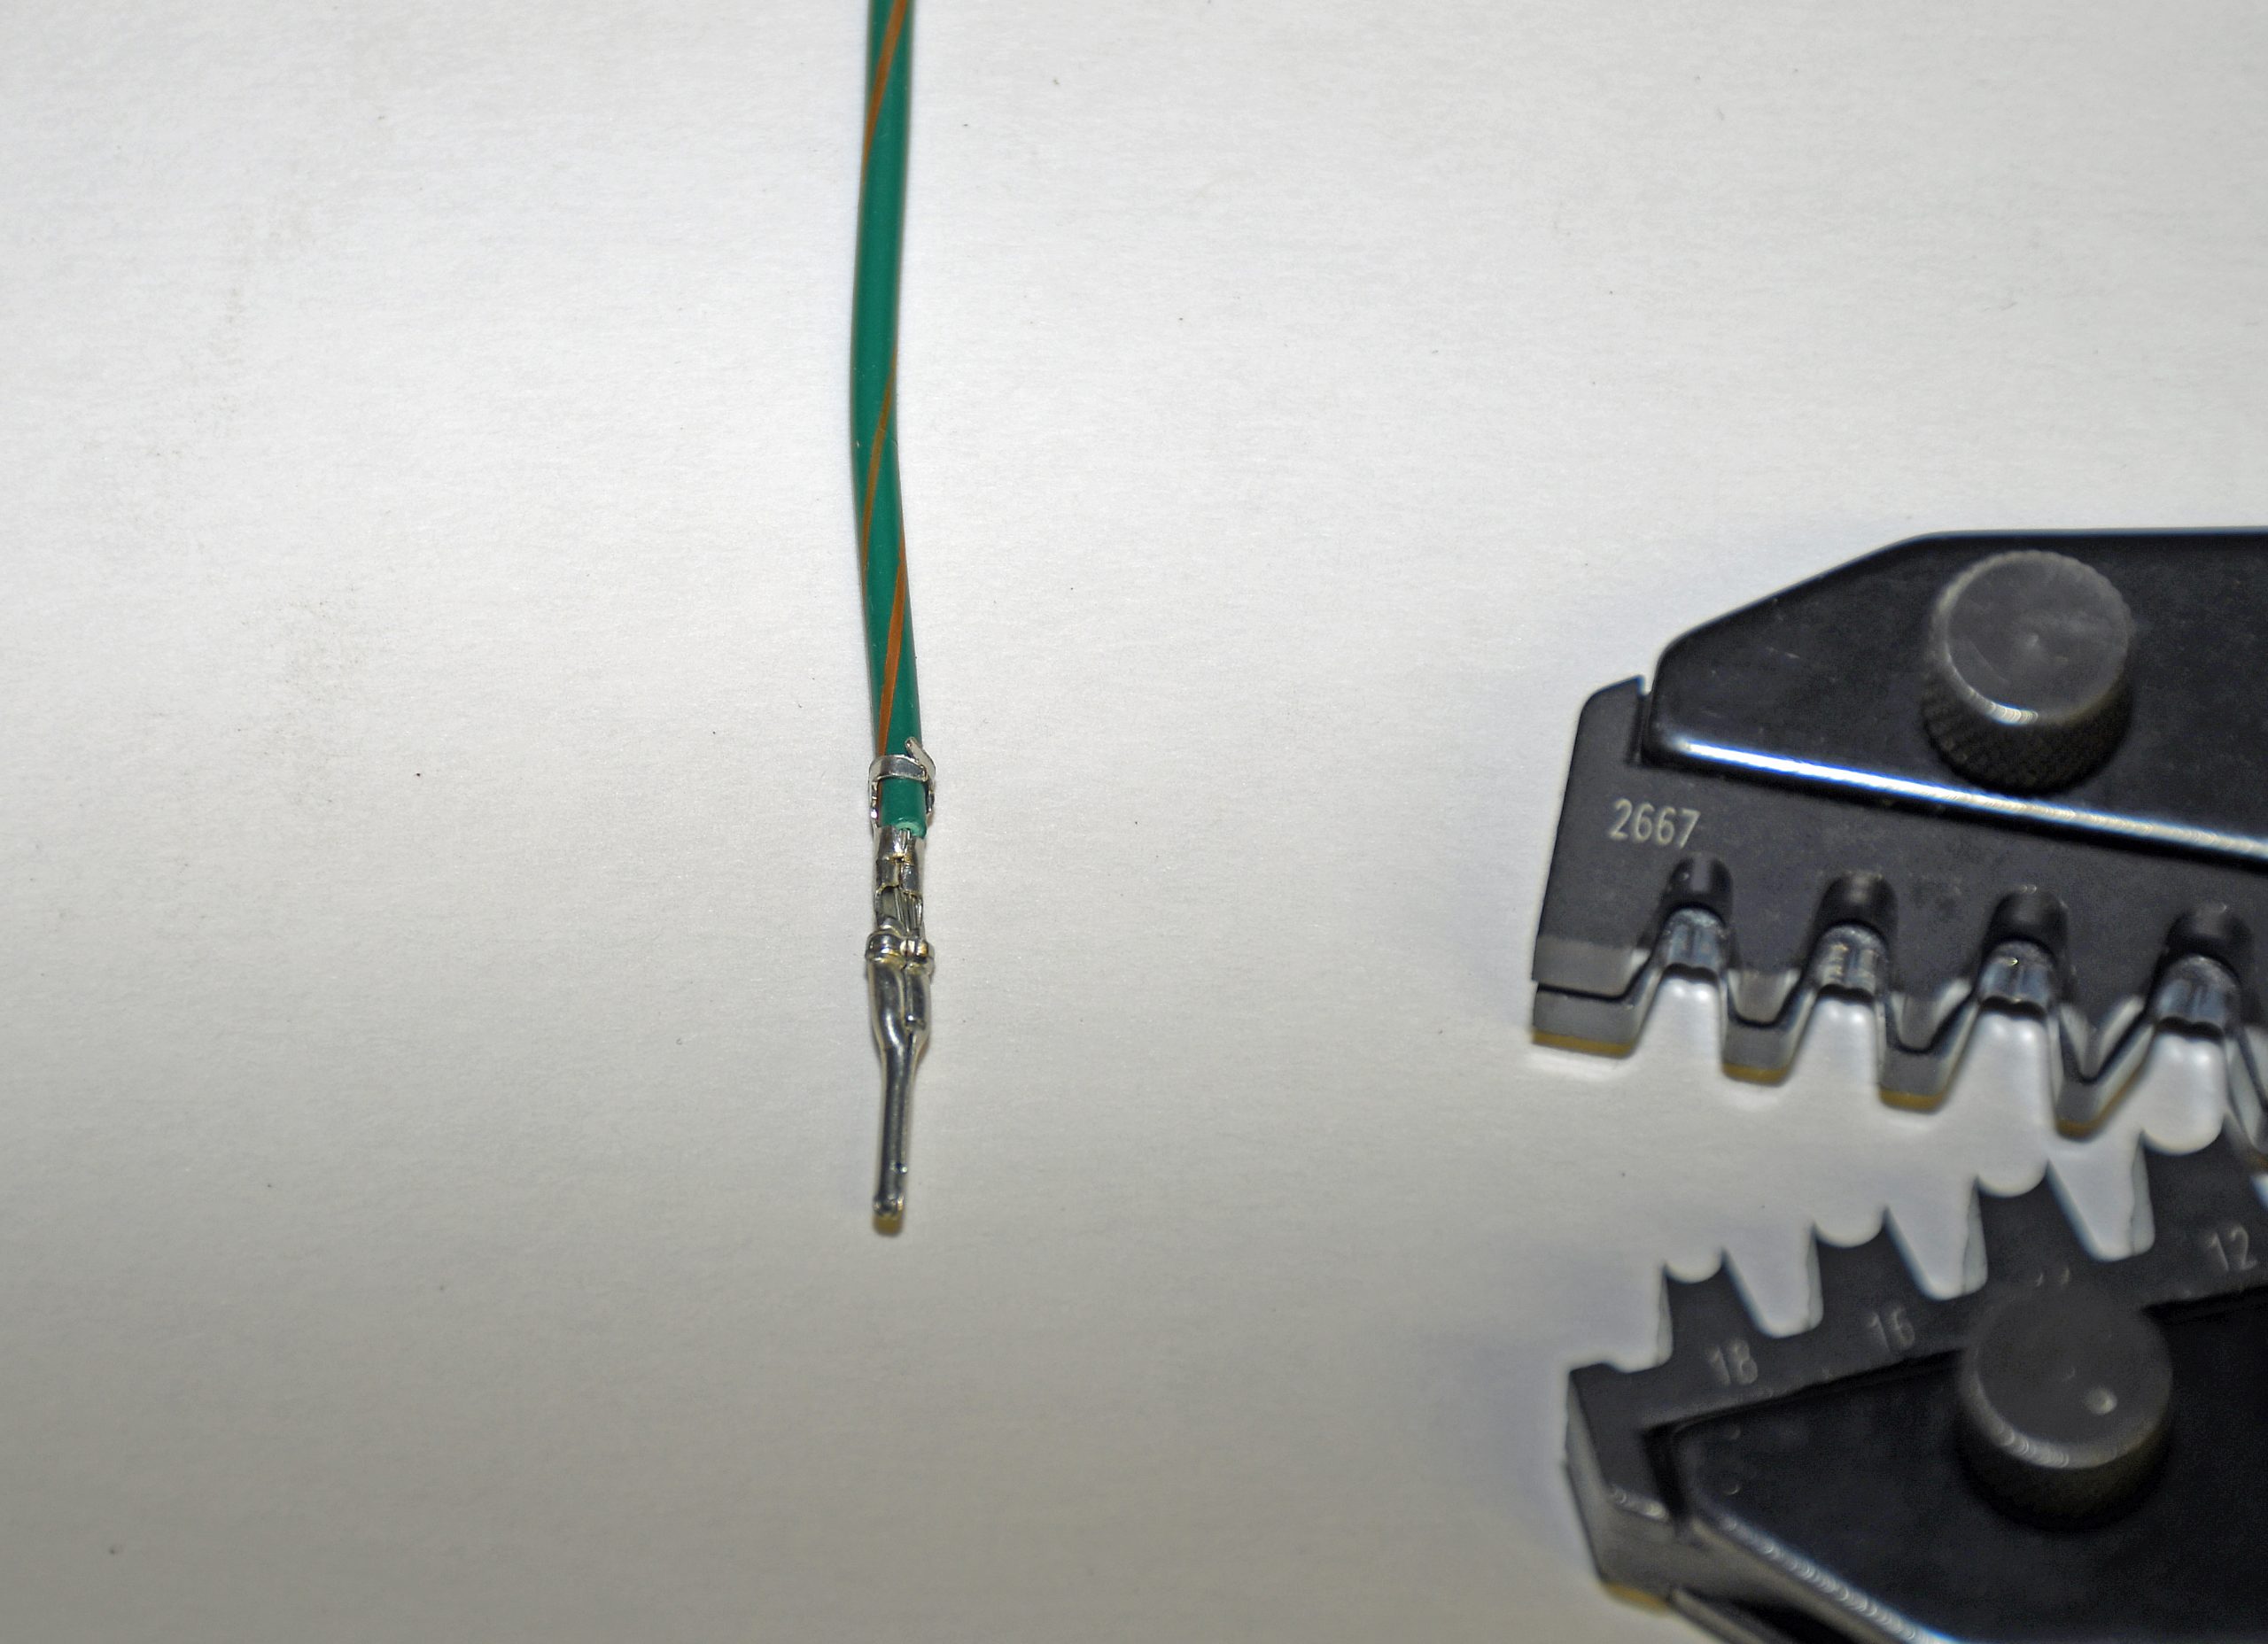
Insert the stripped wire into the designated slot of the crimping tool. The contact should sit at the wire’s end. Firmly squeeze the crimping tool’s handles until they fully close. This action secures the contact to the wire. Check to guarantee that the wire doesn’t slip from the contact.
With the wire and contact firmly joined, move to assemble the housing of the Deutsch connector. Align all components and carefully snap them together. Ensure each part clicks into place, signaling a tight fit.
Last, a reliable connection test is crucial. Use a multimeter to check for continuity. This ensures your crimps hold well under operational conditions. A successful test means the connector is ready for use.
Credit: www.onallcylinders.com
Common Mistakes And Troubleshooting
To ensure proper crimp, always inspect the connector prior to starting. A common mistake includes using the wrong size crimper die. This can lead to a weak connection. To avoid this, match the crimper die with the connector gauge.
Keep the wires straight before inserting into the connector. An uneven wire can cause a bad crimp. If a crimp doesn’t hold, it’s likely due to incorrect tool positioning or a damaged connector. For troubleshooting, examine the crimp with a magnifying glass. Look for any unevenness or cracks. Re-crimping with the correct die may solve the issue.
Maintain your tools to avoid mistakes. Regularly clean and lubricate the crimper. Always store in a dry place. Check for dullness on the crimper jaws. Replace the jaws when needed. A well-maintained tool ensures consistent and reliable crimps every time.
Advanced Tips And Best Practices
Understanding the wire gauge is crucial for crimping Deutsch connectors. Match the contact size with the wire gauge to ensure a solid connection.
Deutsch connectors must withstand environmental challenges. Use quality seals to protect against moisture and dirt.
To crimp connectors quickly and reliably, use dedicated tools. Perfect your technique to reduce waste and save time.
Credit: www.hsunwang.com
Conclusion And Further Resources
Deutsch connectors ensure secure electrical connections. Crimping is a crucial step for installation. Proper tools and techniques are necessary for a solid crimp. Practice makes perfect – it is advisable to train on spare connectors first.
For those eager to learn more, numerous online tutorials and guides exist. Video demos can be particularly helpful. On occasion, assistance from a professional may be beneficial. This is true especially for complex or safety-critical applications. Never hesitate to seek out an expert’s help to avoid costly mistakes.
| Resource Type | Description |
|---|---|
| Video Guides | Step-by-step visual instructions |
| Articles | Written procedures and tips |
| Forums | Community discussions and advice |
Frequently Asked Questions On How To Crimp Deutsch Connectors
Do You Need A Deutsch Crimping Tool?
Yes, a Deutsch crimping tool is necessary for properly securing Deutsch connectors, ensuring reliable and secure electrical connections.
How Do You Crimp Without A Crimper?
To crimp without a crimper, use needle-nose pliers. Strip the wire, twist the strands tightly, place into the connector, and firmly press with the pliers to secure the connection. Ensure a snug fit to maintain electrical continuity.
How Do You Terminate A Deutsch Connector?
To terminate a Deutsch connector, strip the wire, crimp the contact, insert it into the connector body, and ensure it’s securely locked in place.
How Do I Connect My Deutsch Connector?
Start by stripping the wire to the appropriate length. Insert the stripped wire into the connector’s contact until it stops. Crimp the contact onto the wire using the correct tool. Insert the crimped contact into the connector housing until it clicks into place.
Ensure all connections are secure.
Conclusion
Mastering Deutsch connector crimping is essential for reliable electrical connections. Practice the steps outlined, choosing the right tools and connectors for your project. With patience and precision, you can achieve professional results. Visit our blog for more tips on electrical DIY tasks to further refine your skills.
