To change grips on a Harley, first, remove the old grips by cutting them off or loosening under-bar clamps. Next, clean the handlebars thoroughly before installing the new grips.
Motorcycle enthusiasts understand the importance of comfort and style when it comes to their ride, and changing handgrips on a Harley-Davidson is a simple yet impactful way to enhance both. Proper grip provides better control and reduces fatigue on long rides, making this a practical upgrade for any rider.
Whether it’s to replace worn-out grips or to customize the look of your bike, swapping out handgrips can be a quick and rewarding process. Not only does it refresh the feel of your handlebars, but it also gives you the opportunity to bring a personal touch to your motorcycle. With the right tools and a bit of know-how, transforming your Harley’s grips can be an easy weekend project. Remember to choose grips that suit your style and make sure they’re compatible with your bike model before starting the procedure.
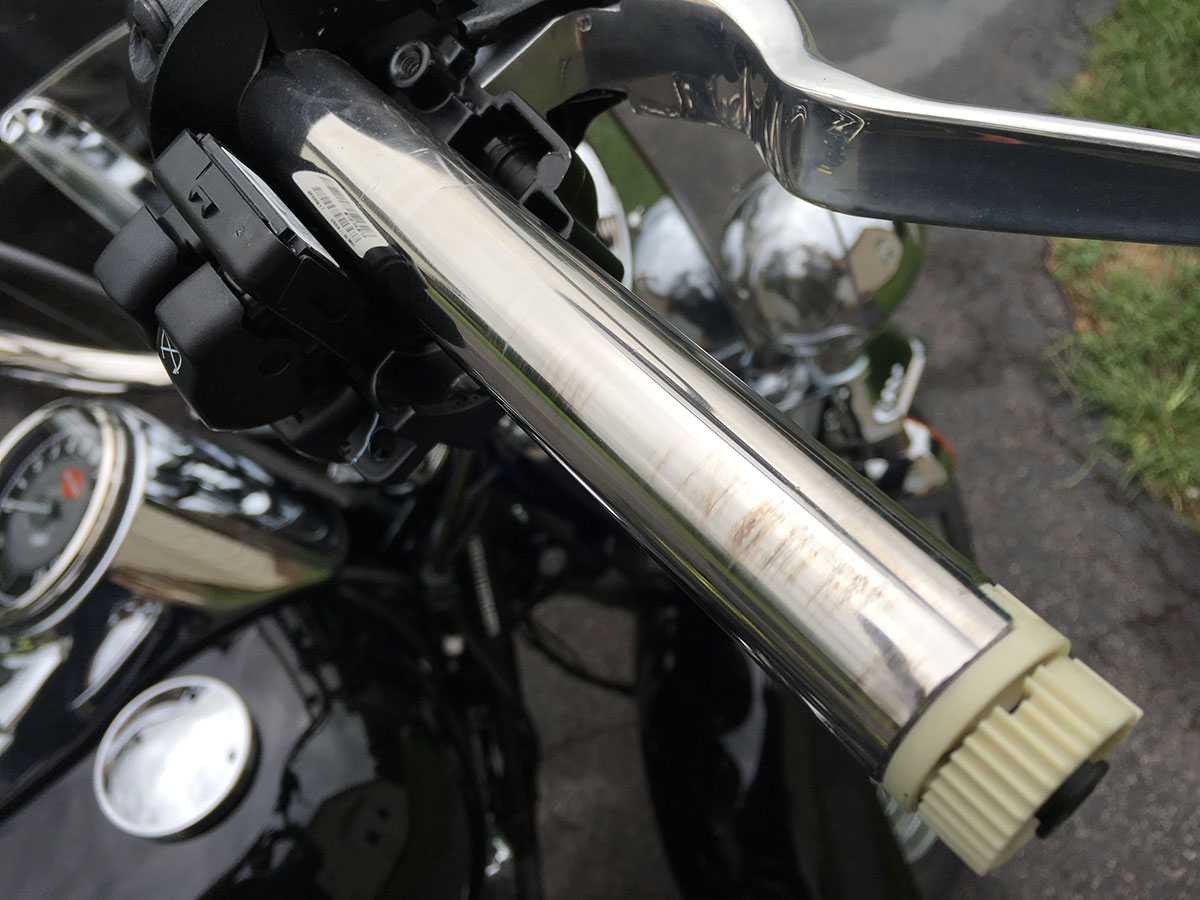
Credit: www.getlowered.com
Introduction To Changing Grips On A Harley-davidson Motorcycle
Maintaining the grips on your Harley-Davidson motorcycle ensures a safer and more comfortable ride. Worn or damaged grips can lead to poor control. This might cause accidents.
Before starting, gather the right tools. You’ll need a flat-head screwdriver, an Allen wrench, and possibly new grip glue. Ensure your replacement grips are compatible with your Harley model.
Cleaning the handlebars is key. Remove any old glue or debris for a smoother installation. With everything ready, the grip change can begin smoothly and safely.
Step-by-step Guide To Removing Old Grips
Ensure your safety before handling your Harley’s parts. Wear protective gloves to avoid injury. Disconnect the motorcycle’s battery to prevent any electrical shocks. Gather the required tools: an Allen wrench and a utility knife, for a smooth process.
Loosen the handlebar weights using the Allen wrench. Unscrew these weights with care. This step makes it easier to remove the grips.
To take off old grips, use a utility knife cautiously. If they’re made of rubber, you can slice through them. Alternatively, peel them off if they’re not glued on. Avoid damaging the handlebars.
Clean the handlebars thoroughly once the old grips are off. Check for any residue or damage. Ensure they’re in good condition before installing new grips. This step is crucial for safety and grip performance.
Selecting The Right Replacement Grips
Choosing new grips for your Harley requires attention to detail. Different materials such as rubber, leather, or foam enhance rider comfort. Texture and patterns impact grip and control, essential for safety.
| Type | Main Feature | Best for |
|---|---|---|
| Rubber Grips | Durability | Wet Conditions |
| Leather Grips | Comfort | Long Rides |
| Foam Grips | Cushioning | Vibration Reduction |
Always ensure correct fitment for your model. Manufacturer specifications guide proper compatibility. Trust reliable brands to avoid fitment issues. Remember, a secure fit improves ride safety and comfort.

Credit: m.youtube.com
Installing New Grips On Your Harley
Before installing new grips on a Harley, it’s important to properly prepare the grips and handlebars. Clean the handlebars thoroughly and check the new grips for any defects. Apply a quality grip adhesive to ensure they stay in place.
For the throttle side grip, align it with the throttle mechanism. Start by sliding it onto the handlebar end. Make sure it rotates smoothly.
- Remove the old clutch side grip.
- Apply adhesive sparingly on the inside of the new grip.
- Slide the new grip into place, ensuring a snug fit.
Handlebar weights should be re-installed. This is the last step. Double-check all grips for security. Clean any excess adhesive. Your Harley is now ready to hit the road with its new grips.
Testing And Safety Checks Post-installation
Ensuring proper grip functionality is vital after changing grips on your Harley. Conduct safety testing to confirm the controls work smoothly. The throttle snap-back requires special attention; it should return to its initial position instantly.
Regularly examine your grips as part of post-installation maintenance. Look for signs of wear or damage to avoid unexpected issues. Proper care guarantees a safer ride and prolongs the lifespan of your grips.
| Check | Description | Frequency |
|---|---|---|
| Functionality | Assess grips for response and comfort | After installation |
| Throttle Response | Ensure quick throttle snap-back | Each ride |
| Maintenance | Check for wear and tear | Regularly |
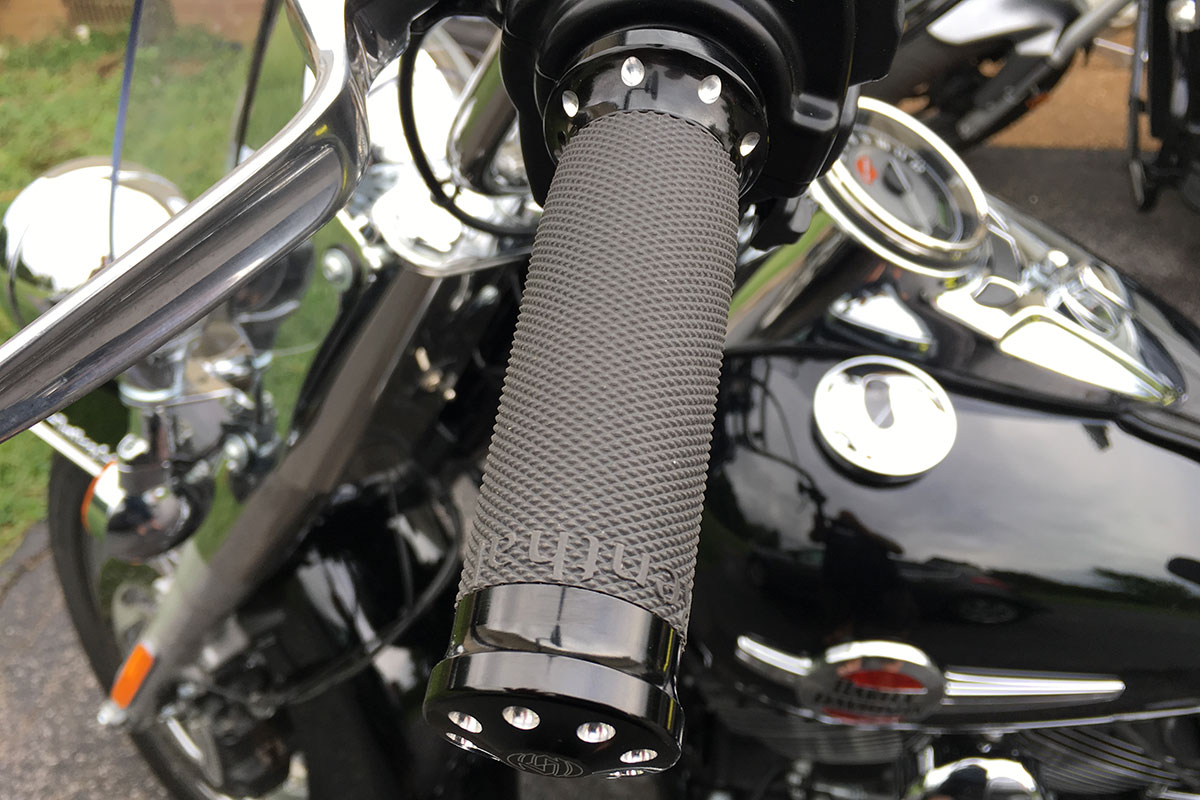
Credit: www.getlowered.com
Customization And Personalization Options
Personalizing your Harley is not just about style, but also comfort. Custom grips offer a fresh look and feel. Your motorcycle should reflect your personality. Unique grip designs can have a major impact. They can make your Harley stand out or blend in.
Grip features such as color, pattern, and material impact aesthetics. Your grip choice affects motorcycle resale value. A sleek design can increase appeal. Consider grip style, comfort, and functionality. These ensure a great riding experience. Remember, the right grips can make a statement.
| Attribute | Impact |
|---|---|
| Design and Style | Defines bike’s character |
| Material | Affects comfort and durability |
| Color and Pattern | Influences visual appeal |
| Installation Ease | Ensures quick customization |
Frequently Asked Questions For How To Change Grips On Harley
How Do You Remove Harley Handlebar Grips Without Destroying Them?
To remove Harley handlebar grips without damage, gently slide a flat screwdriver under the grip edge to create space, spray a small amount of WD-40 or similar lubricant inside to loosen the grip’s adhesive, then twist and pull the grip off carefully.
Are Harley Grips Glued On?
Some Harley grips are glued on, though it can vary by model and aftermarket options. Typically, the throttle side is glued to prevent slipping.
How Do You Change Motorcycle Grips On A Cruiser?
Remove old grips by cutting or peeling them off. Clean handlebars thoroughly. Apply grip glue to the handlebars. Slide new grips onto handlebars and align properly. Allow time for the glue to set.
How Do You Remove The Throttle Grip On A Harley?
To remove the throttle grip on a Harley, first loosen the retaining screws, then slide off the grip. Ensure you disconnect any cables carefully if needed. Reassemble by reversing these steps with a new grip.
Conclusion
Changing grips on your Harley can revamp your ride’s feel and comfort effectively. Following the steps outlined ensures a seamless switch, upgrading your motorcycle’s aesthetics and grip. Embark on this simple task and enjoy a tailored, tactile experience with your Harley’s new grips.
Ride safe and relish the fresh touch.
