To change the stator on a Harley Davidson, first remove the outer primary cover and then unbolt the stator. Begin by ensuring the motorcycle is stable on a lift or stand and disconnect the battery to prevent any electrical accidents.
Replacing the stator in your Harley Davidson is a vital maintenance task that keeps your bike’s electrical system running smoothly. The stator, part of the motorcycle’s charging system, generates the electricity to power your bike’s lights, ignition, and accessories. Regular wear or unforeseen damage can cause the stator to fail, necessitating a replacement to avoid being stranded with a dead battery or worse.
Undertaking this task requires attention to detail and a basic understanding of motorcycle mechanics. This procedure is a common aspect of Harley Davidson maintenance that every enthusiast should be familiar with to ensure an uninterrupted ride. With the correct tools and some mechanical know-how, you can accomplish this essential repair, ensuring your Harley’s performance and reliability.
Credit: www.lowbrowcustoms.com
Introduction To Motorcycle Maintenance
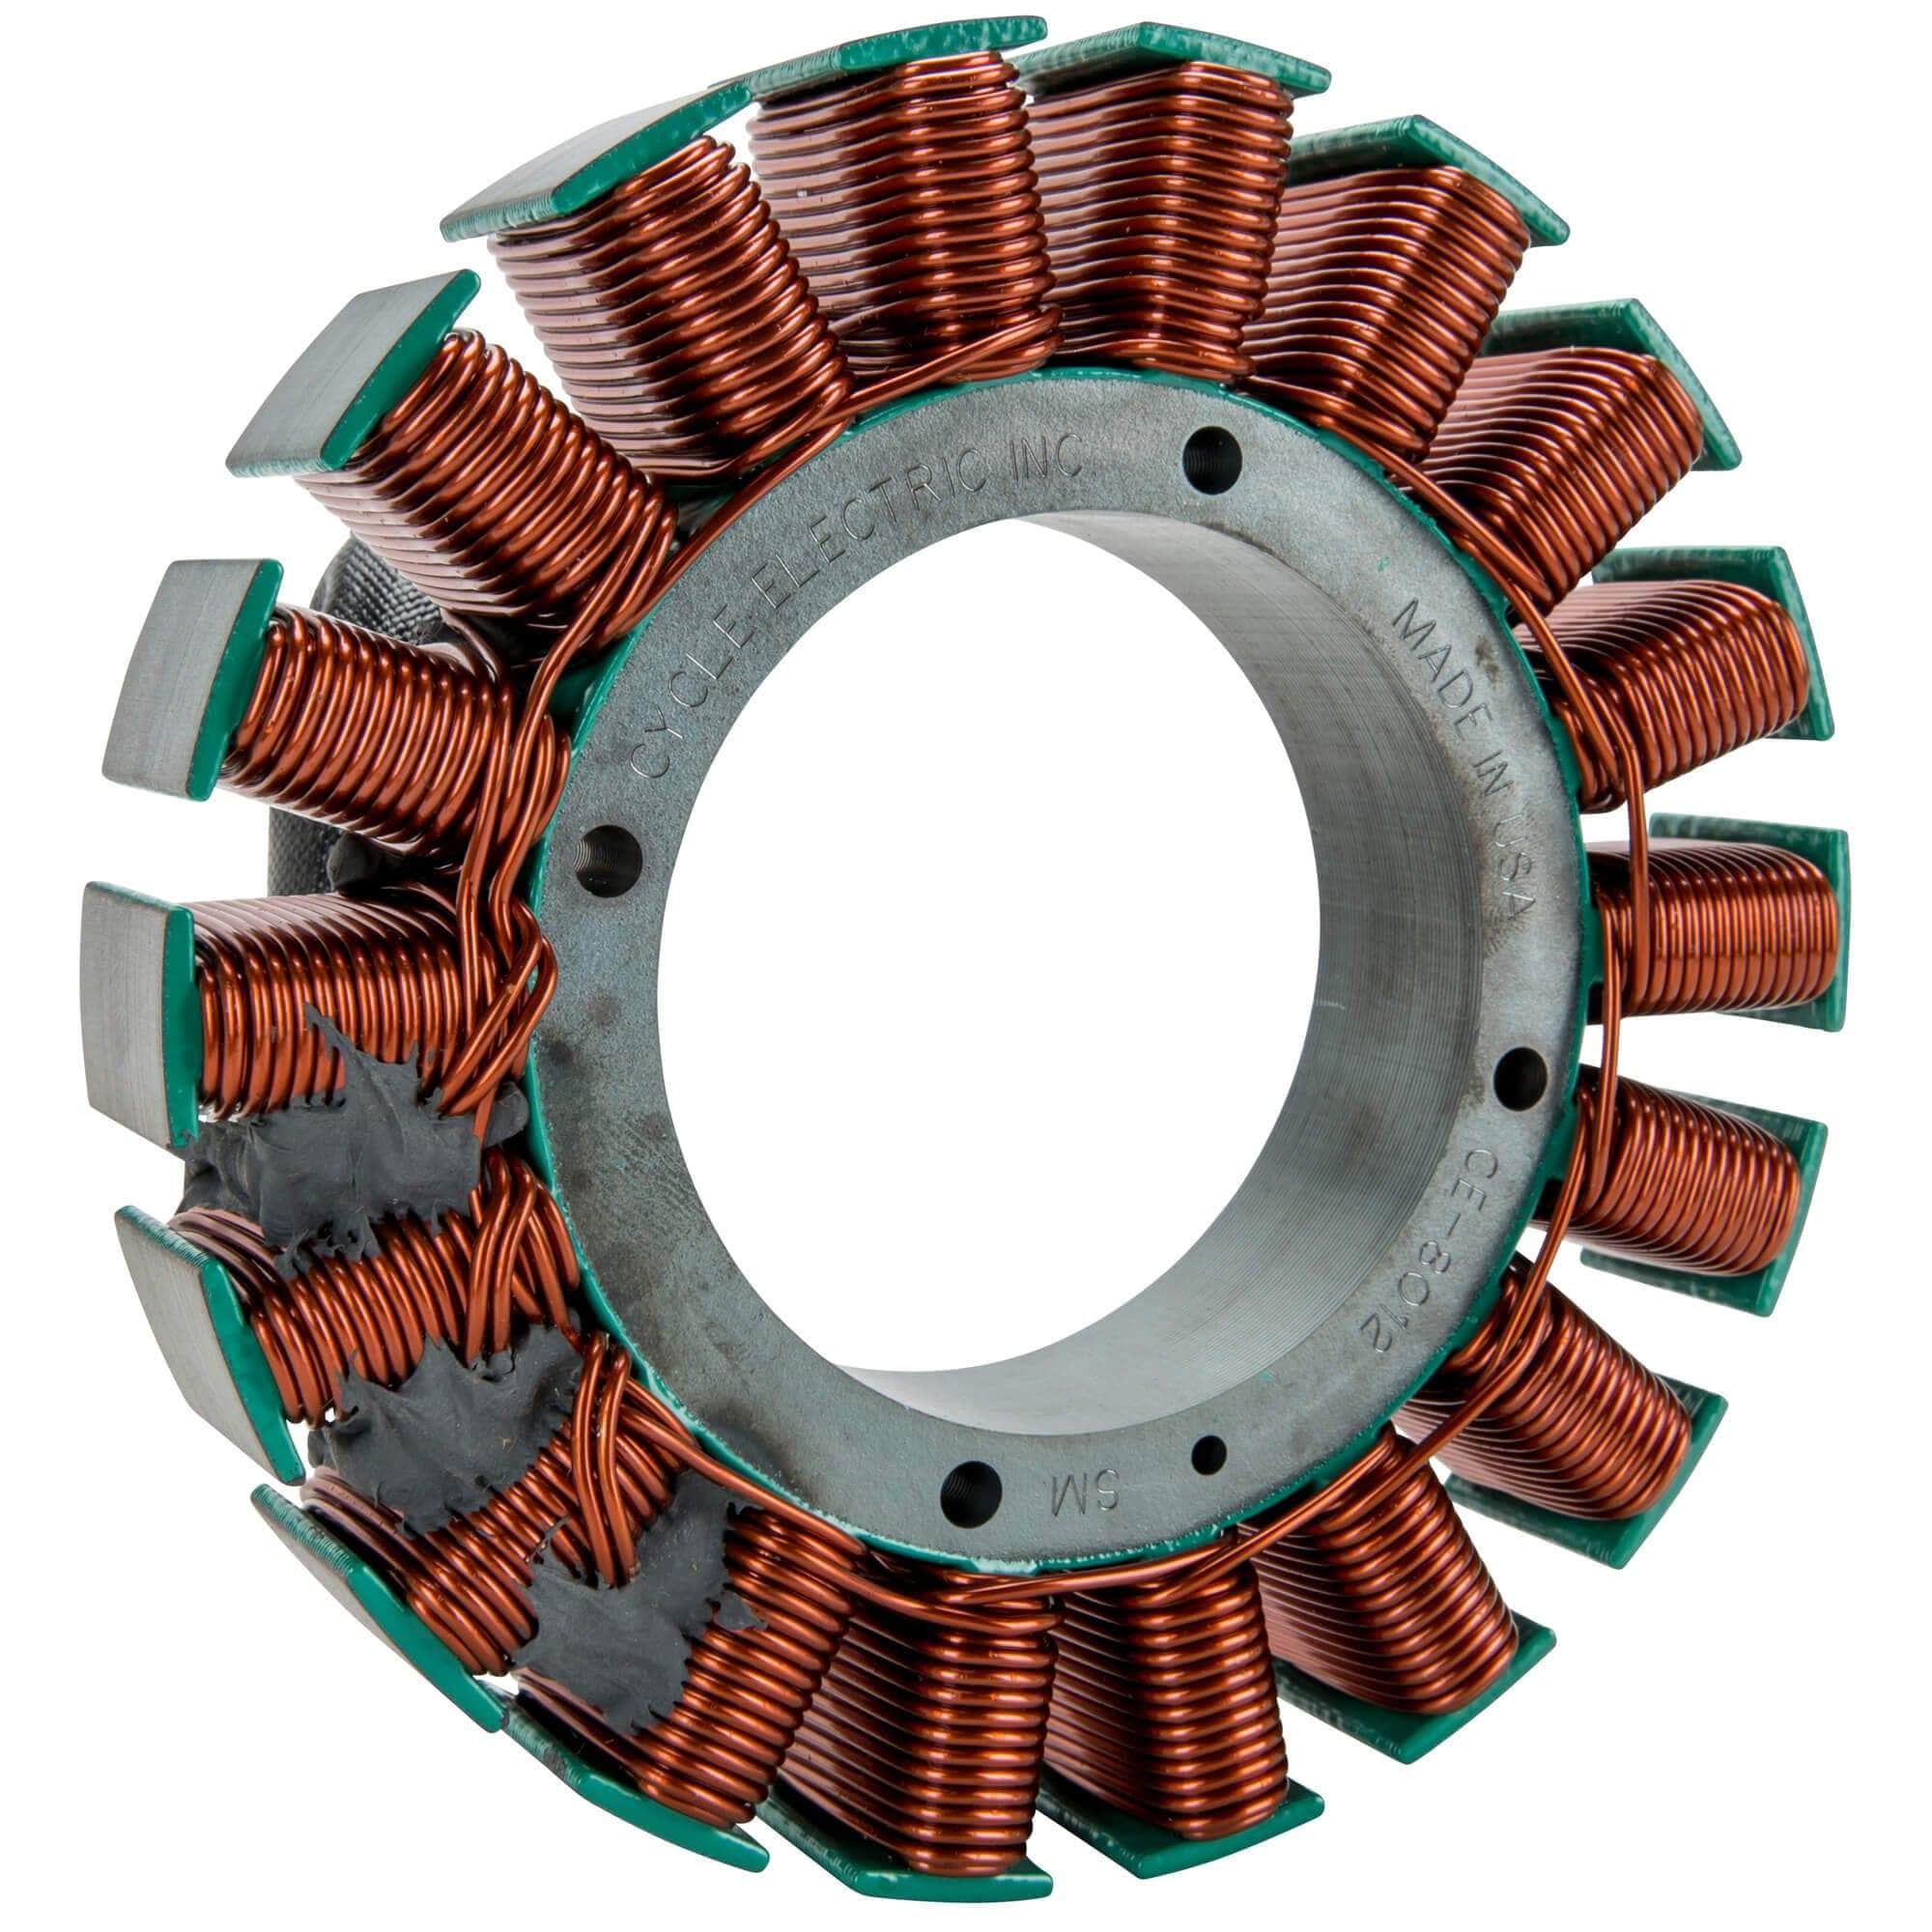
The stator plays a key role in your Harley Davidson’s electrical system. It generates power for the battery and electrical accessories. Recognizing bad stator symptoms is crucial. Your bike might show signs like dim lights or strange battery behavior. These issues signal a need for a stator check.
For a stator change, gather the right tools and materials. You will need a new stator, a multimeter, and basic hand tools. A service manual for specific steps would also help. Ensure all items are ready before starting the job.
| Tool/Material | Use |
|---|---|
| New Stator | Replacement part |
| Multimeter | Test electrical components |
| Hand Tools | For disassembly and installation |
| Service Manual | Guided instructions |
Preparing For The Stator Replacement
Safety is crucial before starting any work on your Harley Davidson’s stator. Ensure the motorcycle is steady on a flat surface. First and foremost, the battery must be disconnected to avoid any electric hazards. This step is non-negotiable.
To access the stator, several components require removal. This may include parts such as the seat, exhaust system, or side covers, depending on the model. Follow your motorcycle’s manual strictly for detailed instructions.
Next, the primary chaincase fluid must be drained. Locate the drain plug at the bottom of the chaincase and use a suitable container to catch the fluid. Remember to dispose of the old fluid in an environmentally friendly way.
The Step-by-step Stator Replacement Process
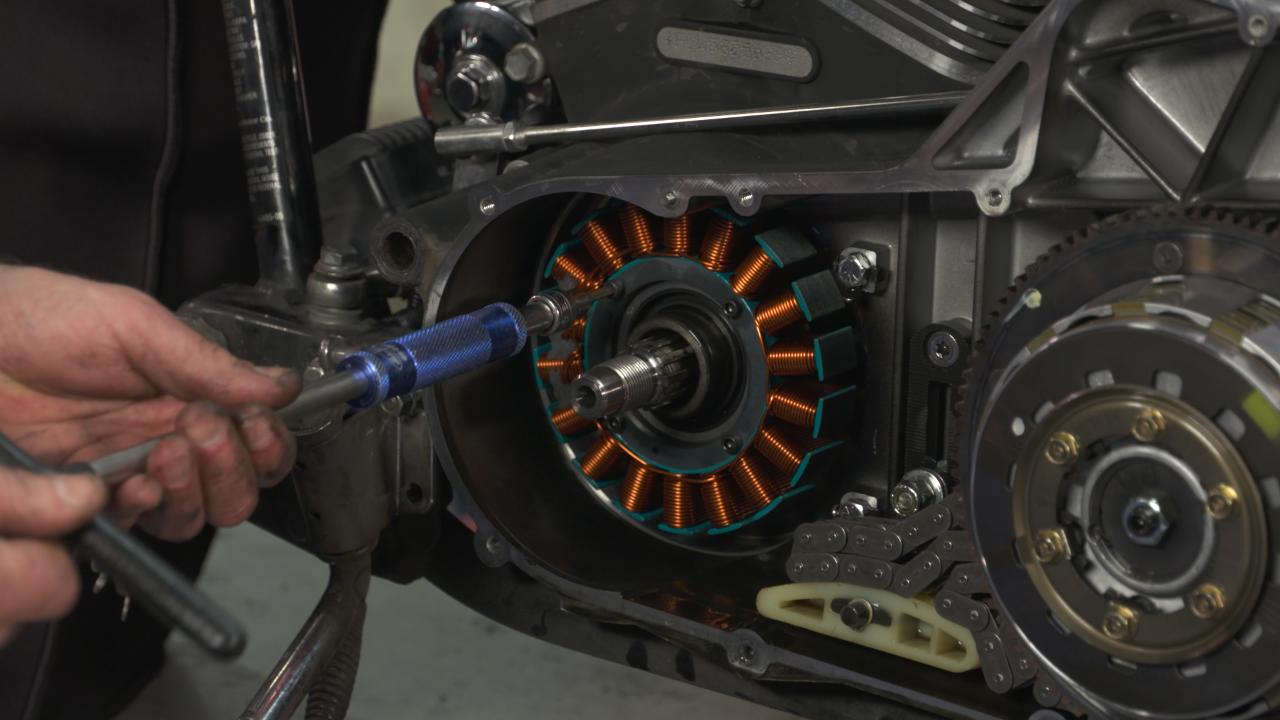
The replacement of the stator on a Harley Davidson is crucial. To begin, disconnect the battery to prevent any electrical issues. Next, remove the primary cover to access the stator. Mark the position of the screws as you unbolt the old stator; this helps with correct reinstallation.
Prior to installing the new stator, clean the area thoroughly. Any dirt left behind could damage the motorcycle. Check for any signs of wear or damage in the compartment and replace gaskets if necessary. Use fresh gaskets to ensure a good seal.
Now, install the new stator. Line it up with the marks made before and secure all screws correctly. Reattach the primary cover ensuring a tight and secure fit. Finally, refill the primary chaincase with the correct type and amount of fluid recommended by the manufacturer.
Credit: www.fixmyhog.com
Post-replacement Steps And Testing
After changing the stator on your Harley Davidson, reconnect the battery. Make sure to securely attach all electrical connections. Checking these ensures your motorcycle is safe to operate. Next, start the motorcycle and observe for any unusual sounds or behaviors that may indicate an issue.
Embark on a test ride to assess overall performance. Monitor the bike for any signs of electrical issues or performance dips. Identifying these early can prevent future breakdowns. To maintain your stator’s condition, follow these maintenance tips. Keep your engine clean and ensure your battery is in good health. Regularly inspect the stator for wear and tear. Avoid excessive exposure to water which can hasten corrosion.
| Step | Action | Benefit |
|---|---|---|
| Reconnection | Secure battery and electrical systems | Prevents startup issues |
| Observation | Listen and feel for anomalies | Early problem detection |
| Test Ride | Assess performance and handling | Ensures reliability |
| Maintenance | Clean and inspect regularly | Extends stator life |
Troubleshooting Common Issues After A Stator Change
Troubleshooting common issues after a stator change is crucial. Owners might notice charging system errors. Check the battery voltage first with a multimeter. A healthy charging system will show around 14.2 to 14.8 volts. If the voltage is low, inspect the connections to the stator and regulator.
Leakage or fluid issues can occur after servicing. Ensure all seals are properly replaced and torqued to spec. Use the right tools to avoid over-tightening, which can cause cracks and leaks.
For electrical connectivity problems, clean all contact points. Confirm that no pins are bent or broken. Dielectric grease can be used to prevent corrosion. Tighten all ground wires, as loose connections are often the culprit. Follow the service manual for proper specs and routing.

Credit: m.youtube.com
Frequently Asked Questions For How To Change The Stator On A Harley Davidson
How Do I Know If My Stator Is Bad On My Harley?
To determine if a Harley stator is bad, check for poor battery charging, inconsistent engine performance, or the battery dying quickly after a charge. Multimeter tests for the correct AC output voltage also indicate stator health.
How Hard Is It To Change A Stator?
Changing a stator can be moderately difficult, requiring mechanical aptitude and the right tools. Experience with engine components is helpful, and attention to detail is essential for reassembly and ensuring proper engine function.
How Long Does It Take To Replace A Stator?
Replacing a stator typically takes 2 to 4 hours, depending on the motorcycle’s make and model, and the mechanic’s experience level. Always consult with a professional for an accurate time estimate.
What Does A Stator Do On A Harley Davidson?
A stator in a Harley Davidson generates electrical power by converting the engine’s mechanical energy into electrical current, charging the battery and powering the motorcycle’s electrical systems while running.
Conclusion
Swapping the stator on your Harley Davidson doesn’t have to be daunting. With the right tools and guidance, you’re now ready to ensure your ride’s electrical health. Remember, patience and attention to detail will keep your Harley on the road longer.
Safe riding!
