Troubleshoot Harley Davidson rear brakes by inspecting pads, lines, and fluid levels. Address sponginess or noise issues immediately for safety.
Harley Davidson motorcycles symbolize freedom and raw power, but a glitch in the rear brakes can quickly curb your riding enjoyment. Regular maintenance is crucial for ensuring your Harley’s brakes respond accurately when you need them most. Riders may experience common problems like reduced responsiveness, strange noises, or a spongy brake lever feel.
Knowing how to identify and troubleshoot these issues not only keeps you safe but also prolongs the lifespan of your bike’s braking system. This introduction begins your journey into understanding the essentials of rear brake troubleshooting, paving the way for confident, secure rides on your beloved Harley Davidson. With a focus on clear, actionable guidance, every owner can gain the know-how to keep their brakes in peak condition.

Credit: m.youtube.com
Introduction To Harley Davidson Rear Brakes
Harley Davidson motorcycles are renowned for their power and durability. Among their critical components, the rear brakes play a vital role in rider safety. A robust braking system ensures that riders can smoothly and effectively slow down or stop their vehicle, maintaining control at all times. Regular maintenance of the braking system is not only a safety measure but also a performance requirement.
Several signs indicate potential rear brake problems. Riders may notice unusual noises, increased stopping distances, or a soft brake pedal feel. It’s essential to identify these symptoms early to prevent further damage. Ignoring them may lead to perilous riding conditions or costly repairs in the long run.
| Symptom | Potential Issue |
|---|---|
| Grinding noise | Worn brake pads |
| Pulsation feeling | Warped rotors |
| Brake drag | Sticking caliper |
Credit: www.harley-davidsonforums.com
Diagnostic Steps For Troubleshooting
Conducting a rigorous assessment of your Harley Davidson’s rear brake is critical for safe riding. Brake issues often originate from simple oversights; therefore, ensuring basic elements are fault-free is paramount.
- Confirm the brake pads aren’t worn out and have sufficient material for operation.
- Verify that the brake fluid is at the correct level and uncontaminated.
- Inspect the brake lines for any signs of leakage or damage.
- Examine the brake disc for signs of wear, scoring, or any irregularities.
- Test the brake caliper to ensure it engages and releases properly.
These fundamental checks can unveil common issues and prevent the need for complex fixes. Always ensure safety before disassembling any parts.
Technical Issues And Solutions
A spongy or soft brake pedal feel often suggests air in the brake lines. Regular bleeding can remove air and restore firm pedal feel. Changing the brake fluid can also improve pedal response.
Unusual noises during braking may indicate worn pads or debris. Check and replace brake pads if worn. Clean the brakes to remove dirt or gravel.
Reduced braking power, or brake fade, can be risky. High-quality brake fluid and pads can fix this. Good installation ensures optimal brake performance.
Locked-up rear brakes create control issues. Adjust the brake caliper and ensure the pads are properly aligned for smoother operation.
| Preventive Maintenance | Benefits |
| Regular fluid changes | Prevents contamination |
| Inspect brake components | Early problem detection |
| Use of recommended parts | Ensures reliability |
Advanced Troubleshooting And Repairs
Advanced troubleshooting and repairs require precision and expertise. Ensuring safety and performance, technicians provide detailed assessments. Specific to replacing worn or damaged brake components, parts like pads, rotors, and calipers often need attention.
Bleeding the rear brake system is crucial for eliminating air pockets. This process maintains brake efficiency and responsiveness. Use a quality brake fluid recommended for Harleys.
High-performance brake parts enhance your riding experience. They offer better handling and stopping power. An expert can suggest suitable upgrades.
Lastly, calibrating the ABS system is vital. It ensures maximum safety. A specialized scan tool may be required for this task.
Final Thoughts
Effective troubleshooting of your Harley Davidson’s rear brake is crucial for a safe ride. Maintaining braking performance demands attention to common signs of wear or failure. Riders should regularly check for brake pad thickness, fluid levels, and disc condition.
Signs like squeaking noises, reduced responsiveness, or a spongy brake lever call for immediate action. A seasoned mechanic’s expertise may be necessary for complex issues. They possess tools and knowledge that ensure repairs meet safety standards.
Regular maintenance dramatically extends the lifespan of brake components. This includes routine brake fluid replacement, cleaning brake parts, and monitoring for any unusual wear patterns. By doing these, riders can enjoy smooth and predictable braking.
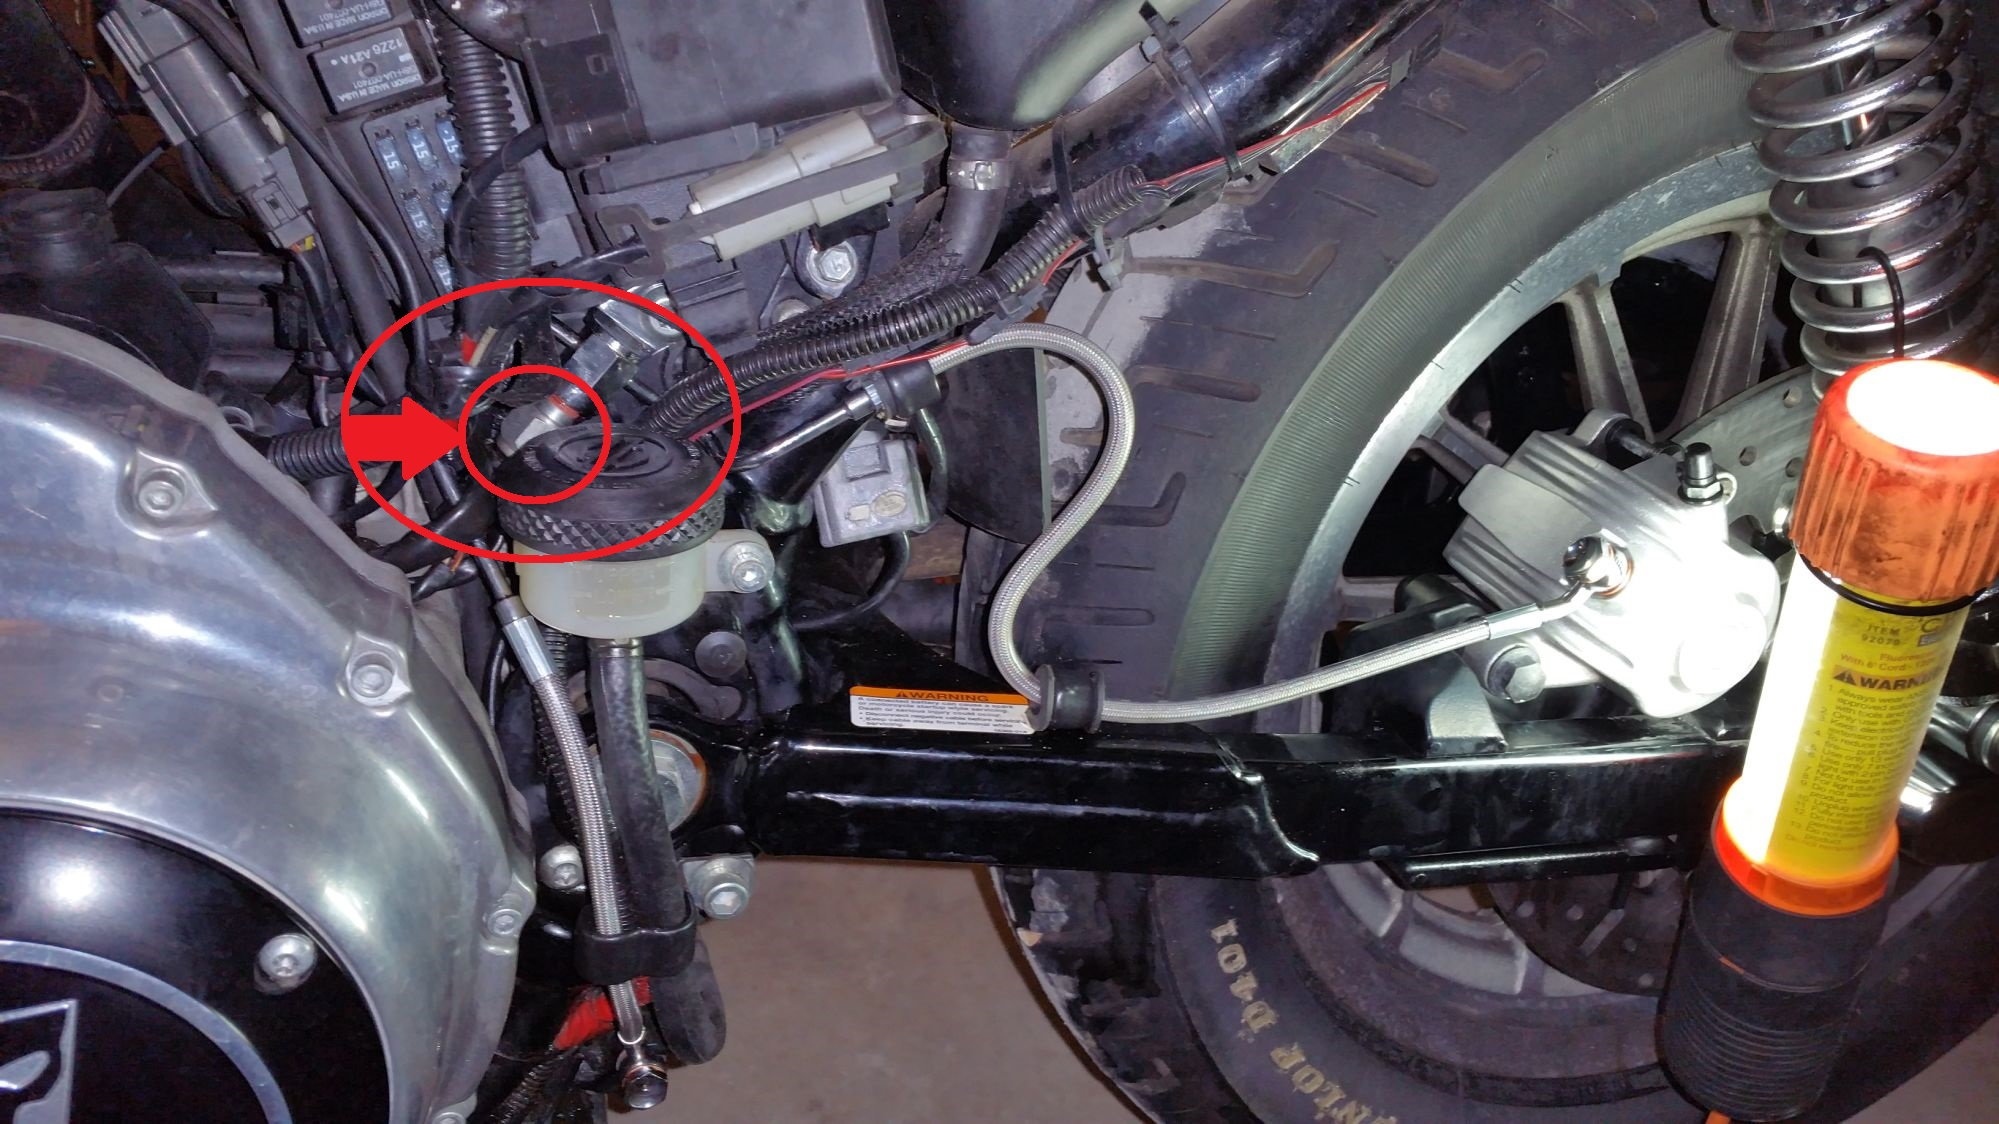
Credit: www.hdforums.com
Frequently Asked Questions For Harley Davidson Rear Brake Troubleshooting
Why Are My Rear Brakes Not Working Motorcycle?
Your motorcycle’s rear brakes may not work due to worn-out pads, air in the brake line, a malfunctioning master cylinder, or insufficient brake fluid.
What Are The Symptoms Of Bad Rear Brakes?
Common symptoms of bad rear brakes include unusual noises, reduced brake responsiveness, and a vibrating brake pedal. A pulling sensation during braking and abnormal wear on rear tires might also indicate issues.
Why Are My Rear Brakes Not Releasing?
Rear brakes may not release due to seized calipers, collapsed brake hoses, or faulty master cylinders. Sticky brake pads or malfunctioning anti-lock brake systems can also cause this issue. Regular maintenance helps prevent these problems.
What Controls The Rear Brake On A Motorcycle?
The rear brake on a motorcycle is typically controlled by a foot pedal on the right side. Engaging this pedal applies the brake.
Conclusion
Tackling Harley Davidson rear brake issues can save you time and ensure a smoother ride. Remember, regular maintenance is key to preventing most problems. For brakes that perform optimally, consult a professional if needed. Ride safe, and keep those brakes in check for the long haul.
