Is your Harley’s clutch feeling a bit off? It might need an adjustment. A well-adjusted clutch can make a big difference. It helps your motorcycle shift gears smoothly. Plus, it adds comfort to your ride. This guide will show you how to adjust the clutch on your Harley in simple steps.
What You Will Need
- A set of wrenches
- A screwdriver
- A torque wrench (for precision)
- Some patience and time

Credit: m.youtube.com
Before You Start
You should know a few things:
- Always adjust your clutch when your bike is cold.
- Find a clean, flat surface to work on.
- Make sure to read your bike’s manual before you start.
Step by Step Guide to Adjusting Your Clutch
Step 1: Loosen The Clutch Cable
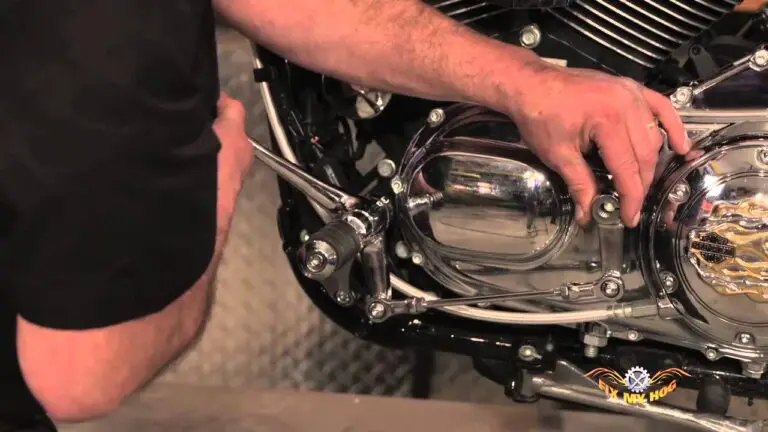
First, find the clutch lever on your handlebar. Then, look for the clutch cable below it. Use your wrenches to loosen the locknut on the cable. After that, twist the adjuster to give the cable some slack.
Step 2: Adjust The Clutch Pack
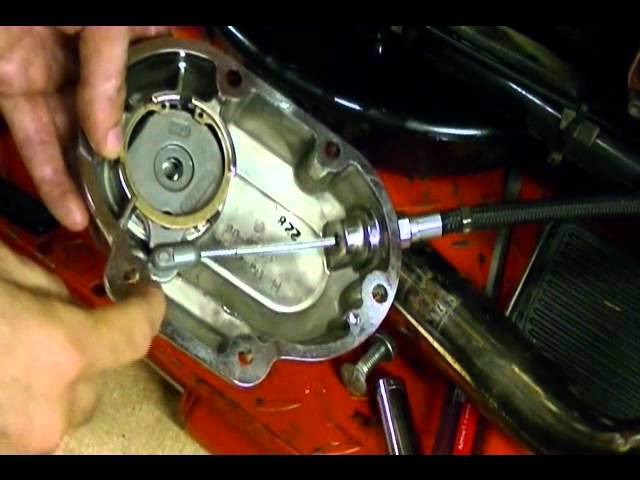
Next, locate the clutch pack. It is underneath a cover on the side of your motorcycle. Take off the cover using your screwdriver. Inside, you will see a nut that you can turn.
Turn this nut slowly until you feel light resistance. This is the tricky part. Don’t force it, just a gentle touch is what we need. When you feel this light resistance, turn the nut back a quarter of a turn.
Step 3: Retighten The Clutch Cable
Go back to the clutch cable you loosened earlier. Now, we need to take away the slack. Twist the adjuster until there is a tiny gap. This gap should be the thickness of a coin.
Step 4: Lock It Down
Almost done! Hold the adjuster and tighten the locknut with your wrench. Make sure not to twist the adjuster while doing this. Check to make sure there is still a small gap.
Step 5: Test The Clutch
It’s important to see if you’ve done it right. Squeeze the clutch lever a few times. Feel how it works. It should feel smooth. Look for any strange noises or resistance.
Step 6: Readjust If Necessary
If something seems off, don’t worry. Just go through the steps again. With a bit of practice, you will get it just right.
Troubleshooting
Sometimes, you might run into problems. Here’s what to do:
- Lever is too hard to pull:
- Check for too much tension in the cable. Go back and give it more slack.
- Lever is too loose:
- You might have given the cable too much slack. Tighten the adjuster a bit more.
- Clutch is slipping:
- This means the clutch pack adjustment is too loose. Tighten the nut inside the clutch pack cover a little more.
Final Check
After adjusting, give your motorcycle a short test ride. But, only if it’s safe to do so.
Remember, practice makes perfect. It’s okay if you don’t get it right the first time.
Need help? Don’t hesitate to reach out to a pro. It’s important to ride safely.

Credit: www.fixmyhog.com
Frequently Asked Questions Of Adjusting The Clutch On A Harley
How To Adjust A Harley Clutch Cable?
Begin by locating the clutch cable adjuster near the middle of the cable. Loosen the locknut and turn the adjuster to provide the correct amount of free play in the lever.
What Tools Are Needed For Clutch Adjustment?
You’ll typically need a set of combination wrenches and possibly an Allen or Torx key to adjust a Harley clutch.
Can Clutch Adjustment Affect Harley’s Performance?
Proper clutch adjustment is crucial for smooth gear shifting and can prevent transmission wear, enhancing your Harley’s overall performance.
How Often Should A Harley Clutch Be Adjusted?
Inspect and adjust your clutch every 5,000 miles or according to your specific Harley model’s maintenance schedule detailed in the owner’s manual.
Conclusion
Adjusting the clutch on your Harley is a handy skill. It keeps your bike running well. With this guide, you can do it yourself! Remember, take it step by step. Soon, you’ll enjoy smooth rides on your finely-tuned machine.
