Hello young bike enthusiasts! Today we will learn something cool. We will learn how to check the voltage regulator on a Harley motorcycle. A voltage regulator is important. It helps keep the motorcycle’s battery from getting too much power. Too much power can hurt the battery.
What is a Voltage Regulator?
A voltage regulator is a handy part. It makes sure your motorcycle’s battery gets the right amount of electricity. It is like a guard. It tells the extra electricity to go away.

Credit: m.youtube.com
Why Should We Check It?
We check the regulator to keep our motorcycle happy. It helps us find problems before they get bigger. When we check it, we can ride safely and have fun.
Things You Will Need
- A multimeter – This is a tool that measures electricity.
- A piece of paper and a pen – To write down your numbers.
- Gloves – To keep your hands safe.
- Someone older to help – Safety first!
Step-by-Step Guide to Check Your Harley’s Voltage Regulator
Step 1: Find The Battery And Voltage Regulator
First, ask your helper to show you the battery. It stores electricity for your motorcycle. Now, find the voltage regulator. It is a small metal box near the battery.
Step 2: Safety Check
Before you start, make sure the motorcycle is off. The key should be out. Wear your gloves.
Step 3: Use The Multimeter
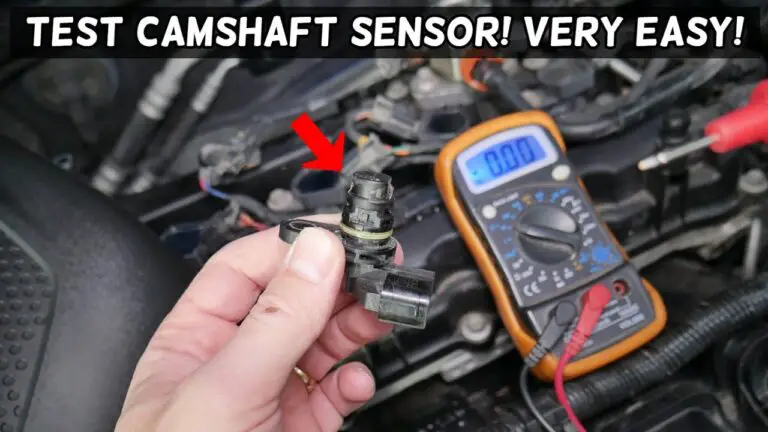
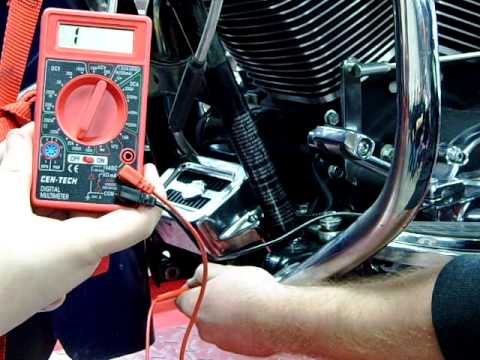
Set the multimeter to read voltage. You will see this as a ‘V’ on the multimeter. If you are not sure how, ask your helper.
Step 4: Test The Battery
Touch the multimeter’s red lead to the battery’s positive (+) post. Then touch the black lead to the negative (-) post. Write down the number you see on the multimeter. It should be around 12.6 volts.
Step 5: Start The Motorcycle
Have your helper start the motorcycle. The engine should be running for the next steps.
Step 6: Test The Voltage Regulator
With the motorcycle running, touch the red lead to the battery’s positive post again. Put the black lead on the negative post. The number should now be higher than before. Write it down.
Step 7: Rev The Engine
Your helper should gently twist the throttle. The number on the multimeter will change. It should not go over 15 volts.
Step 8: Check Your Numbers
| Condition | Voltage Reading | Good or Bad? |
|---|---|---|
| Motorcycle Off | ~12.6 volts | Good |
| Motorcycle Running | ~14.5 volts | Good |
| Engine Revving | Less than 15 volts | Good |
| Engine Revving | More than 15 volts | Bad |
If your numbers look like ‘Good’ in the table, your regulator is working fine. If they look like ‘Bad’, you may need a new regulator. Time to tell an adult who can fix it.
Important Tips
- Always have an adult with you. They make sure you are safe.
- Never touch the battery posts with your hands. Always use the multimeter leads.
- If your motorcycle acts weird, the regulator might be the problem. Always check it.
Credit: california-motorcycles.com
Frequently Asked Questions On How To Check Harley Voltage Regulator
What Is A Harley Voltage Regulator?
A Harley voltage regulator helps maintain consistent electrical system voltage, preventing damage to the motorcycle’s electrical components by regulating the charging system’s output voltage.
How Do I Locate My Harley’s Voltage Regulator?
The voltage regulator is typically mounted on the front of the engine frame, near the bottom of the motorcycle, easily identifiable by its fins and electrical connections.
Can I Test A Voltage Regulator At Home?
Yes, with a multimeter, you can perform a basic voltage output test at home to assess the health of your Harley’s voltage regulator.
What Are Common Signs Of Voltage Regulator Failure?
Signs of a failing voltage regulator include erratic instrument panel behavior, dimming lights, battery overcharging, or the bike failing to start.
Conclusion
Checking a Harley voltage regulator can be fun. It is like being a detective, but for motorcycles. Remember, be safe, follow the steps, and ask for help when you need it. And there you have it! You now know how to check a Harley voltage regulator!
Keep exploring and learning about motorcycles. They are fun and exciting. But always remember, safety comes first. Happy riding!
