To change a stator on a Harley Davidson, first, drain the bike’s oil and remove the outer primary cover. Next, extract the old stator and rotor, and install the new stator.
Changing a stator on your Harley Davidson can be an essential maintenance task to keep your bike running smoothly. While the process can be intricate, it’s entirely manageable with the right tools and some mechanical knowledge. A stator is the heart of your motorcycle’s charging system, and its failure can lead to numerous electrical problems and even leave you stranded.
Undertaking this fix involves working with some of the bike’s key components, including the primary chaincase, which requires precision and attention to detail. Ensure you have your model’s specific manual on hand for reference, as installation can vary between bikes. With careful preparation and methodical work, this guide will help you get back on the road with a fully charged battery and a well-functioning electrical system.

Credit: m.youtube.com
Introduction To Motorcycle Maintenance
A motorcycle’s heart is its engine, and the stator works like a charger. It turns engine power into electricity for your bike. Yet, this vital part may fail over time. Dim lights on your Harley and a dead battery often ring the alarm. Your bike’s power struggles could be a clear sign. A multimeter test can confirm your suspicions.
Feeling unsure about a stator issue is normal. Professional checks can help ease your mind. Don’t wait if your Harley behaves oddly. Point out these changes to a mechanic. Safety comes first with bikes, always. A quick response could save time and money.
Preparation For Stator Replacement
First, gather all necessary tools. A basic tool set includes screwdrivers, wrenches, and sockets. You’ll need a torque wrench for precise tightening. Don’t forget a multimeter to test the stator’s functionality. Ensure there is a clean workspace and motorcycle lift or stand.
Wear protective gloves and safety glasses at all times. Disconnect the battery to prevent electrical shocks. Keep a fire extinguisher nearby as a safety measure. Work in a well-ventilated area to avoid inhaling harmful fumes.
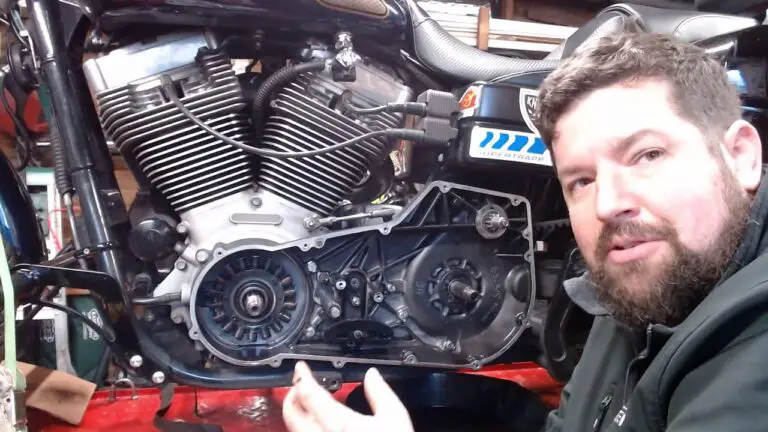
Start by removing the outer cover protecting the stator. Use a professional manual for guidance on removing parts. Carefully unbolt) and set aside any components obstructing the stator. Label wires and connections before disconnecting them for easier reassembly. The process requires patience and attention to detail.
Step-by-step Guide To Changing The Stator
Before you start, ensure your Harley is on a stable surface. Gather your tools: a set of sockets, screwdrivers, pliers, and a torque wrench.
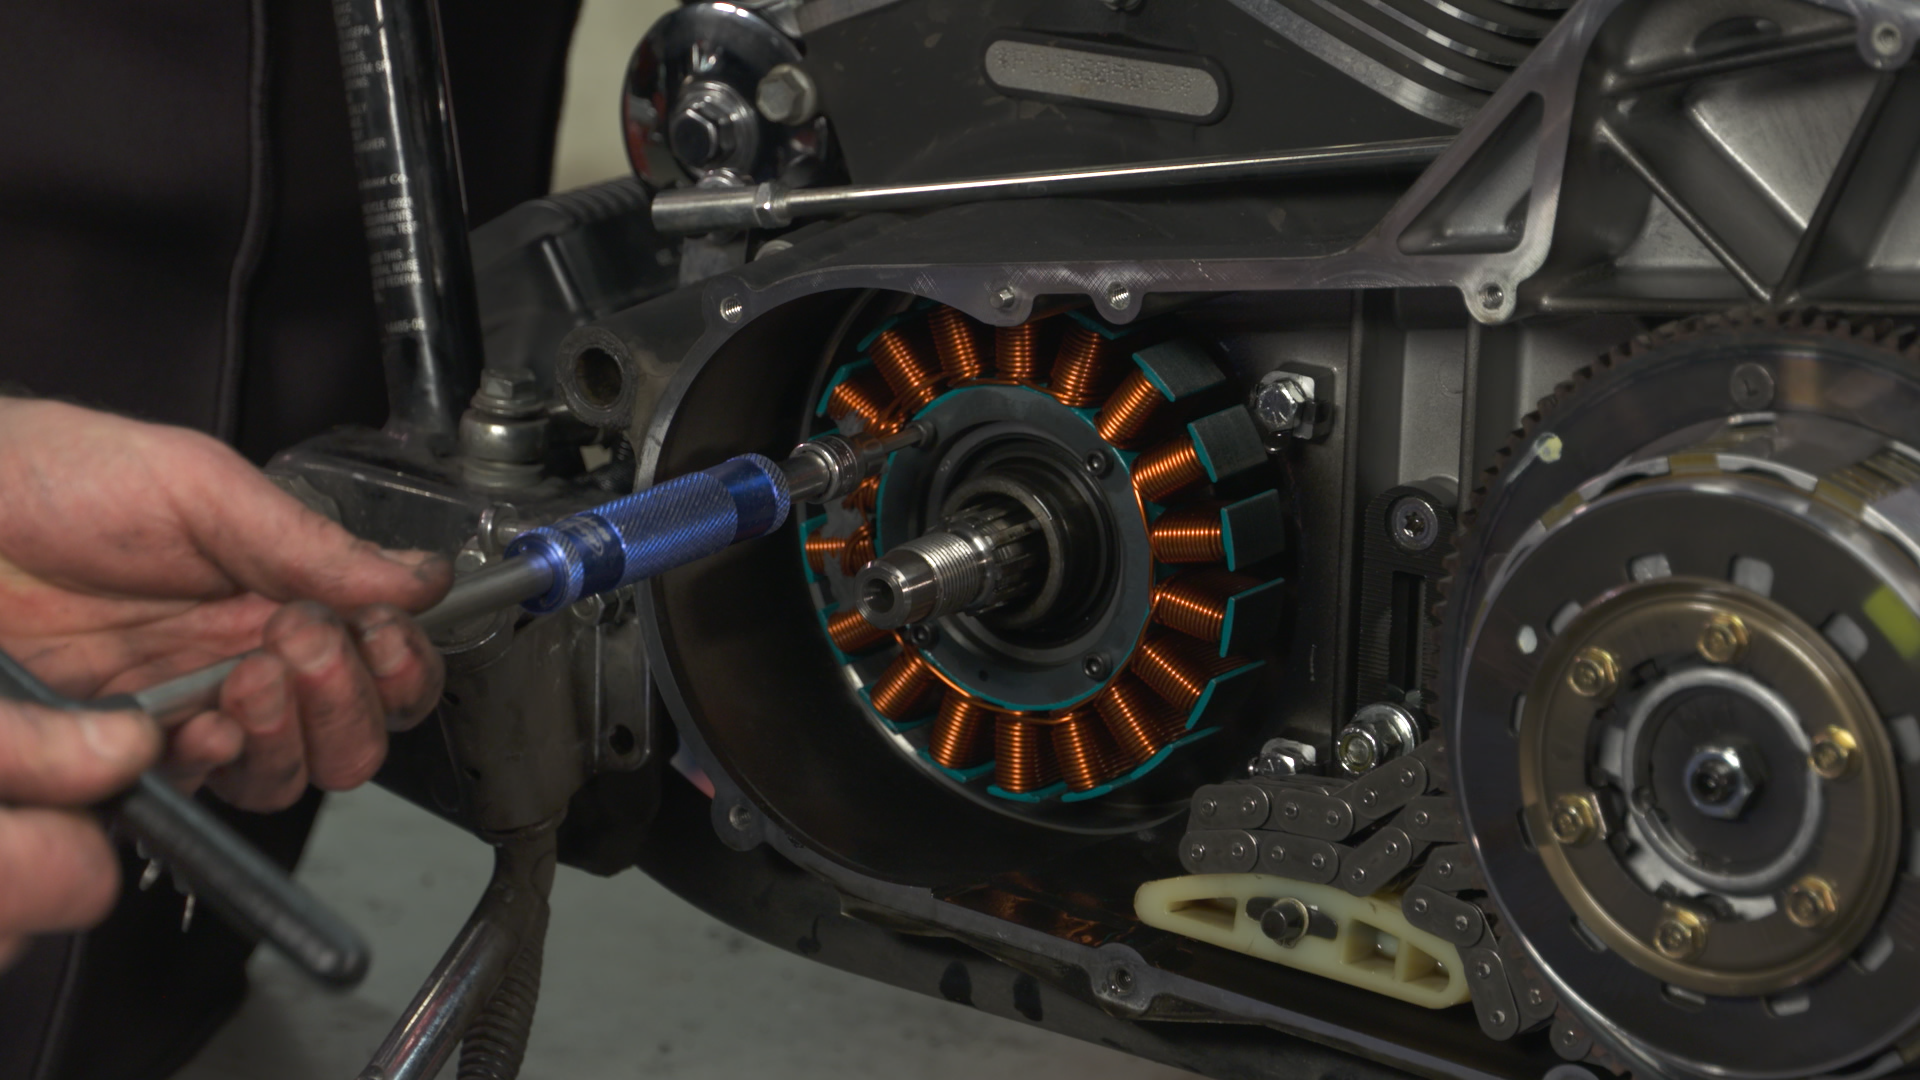
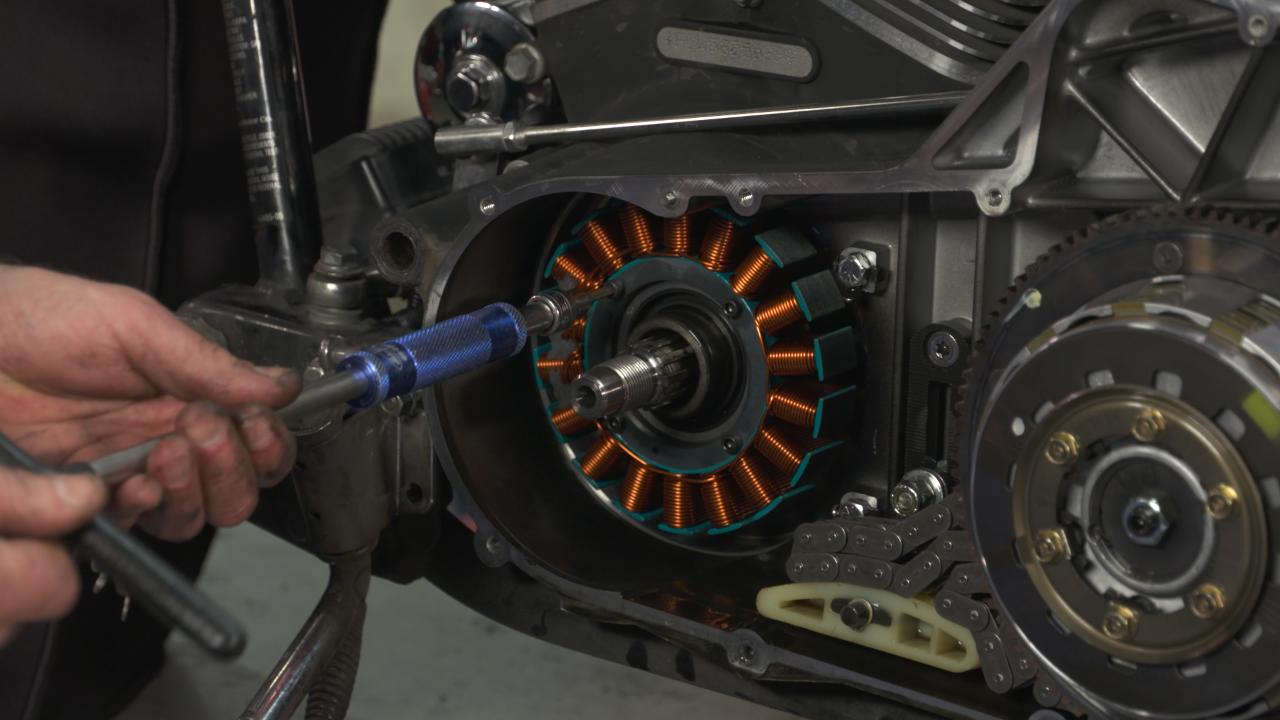
To remove the old stator, first disconnect the battery. Remove the primary cover, draining any fluid. Unbolt the stator from its housing. Carefully pull out the stator, avoiding damage to the wires.
| Step | Action | Notes |
|---|---|---|
| 1 | Align the new stator | Match the mounting holes |
| 2 | Secure with bolts | Do not over-tighten |
| 3 | Reconnect stator wires | Ensure solid connections |
Test electrical connections with a multimeter to confirm proper installation. Check for continuity and correct voltage output before proceeding.
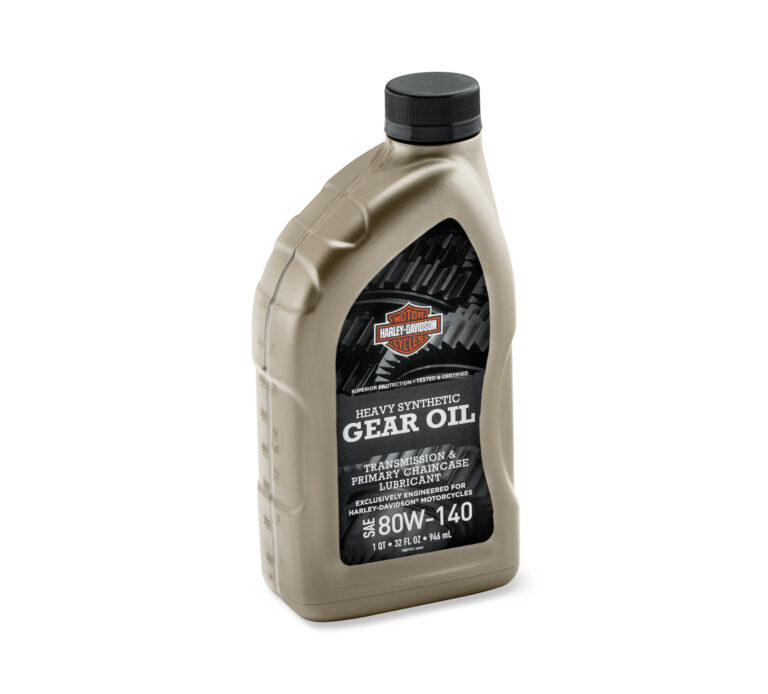
Finally, reassemble motorcycle components in reverse order. Replace the primary cover and refill with the appropriate fluid. Reconnect the battery, and start the engine to ensure everything works smoothly.
Post-installation Procedures
After installing a new stator on your Harley Davidson, testing the motorcycle’s charging system ensures everything works correctly. Use a multimeter to check the voltage. It should read between 13.5 and 15 volts when the bike runs at 2,000 RPM. Regular tests prevent future issues, keeping the bike road-ready.
Troubleshooting common issues after stator replacement is essential. If the battery still drains quickly, recheck all connections. Make sure the battery itself isn’t the source of the problem. Stator wires should be free from damage and connected firmly to avoid electrical malfunctions.
Maintaining the stator and charging system prolongs their life. Clean terminals and check wire insulation often to ensure no wear. Schedule regular inspections as part of your bike’s maintenance routine. This keeps your Harley Davidson in top shape.
Conclusion And Additional Tips
Replacing a stator on a Harley Davidson is crucial for bike health. Proper tools and knowledge ensure a smooth process. First, disconnect the battery and remove the necessary parts to reach the stator. Take out the old stator, check all connections, and replace it with a new one. Reassemble everything carefully and reconnect the battery. For those less experienced, seek professional help or refer to detailed guides and tutorial videos.
Maintaining your motorcycle extends its lifespan and enhances performance. Regular checks on parts like the stator prevent unexpected failures. Always use quality replacement parts for safety and efficiency. For additional learning, utilize manufacturer manuals, online forums, and community workshops. These resources can be invaluable for both novice and advanced riders.
Seeking help from certified mechanics is wise. They offer expert advice and can handle complicated repairs. Quality service guarantees your Harley Davidson remains a reliable companion on the road. Remember to schedule regular maintenance for overall bike health and optimum performance.
Credit: www.fixmyhog.com
Credit: www.fixmyhog.com
Frequently Asked Questions On How To Change A Stator On A Harley Davidson
How Hard Is It To Change A Stator?
Changing a stator can be moderately difficult, requiring mechanical knowledge and specific tools. Always consult the service manual for your vehicle model before you begin the replacement process.
How Do I Know If My Stator Is Bad On My Harley?
To determine if your Harley’s stator is bad, check for poor charging, weak battery performance, or irregular engine performance. Use a multimeter to test the stator’s output voltage. If it’s below recommended levels, your stator may need replacement.
How Long Does It Take To Replace A Stator?
Replacing a stator typically takes 2 to 4 hours for a skilled technician. The time can vary based on the vehicle’s make and model.
What Does A Stator Do On A Harley Davidson?
A stator on a Harley Davidson generates electrical power by converting the motorcycle’s engine rotation into electricity, powering the bike’s systems and charging the battery.
Conclusion
Swapping out a stator on your Harley Davidson doesn’t have to be daunting. With the right tools and patience, you can tackle this maintenance task and keep your ride in top condition. Remember, safety first; disconnect the battery before beginning.
Regularly checking and maintaining your motorcycle ensures enjoyable, trouble-free rides ahead. Ride on with confidence!
